
Course Details
- Details
 Note: At the M Lazy C Ranch, please follow any flagging that's posted from the parking area to the assembly area or the start. The flagging may not follow the most direct route, but it's required in order to avoid crossing private property.
Also, please do not wear spikes or cleated shoes into any of the M Lazy C Ranch buildings. Thank you!
Day 1 (Saturday, August 9th)
Map: Badger Gulch
Course Setter: Kris Beecroft
Distance from parking to the start: 1000 meters.
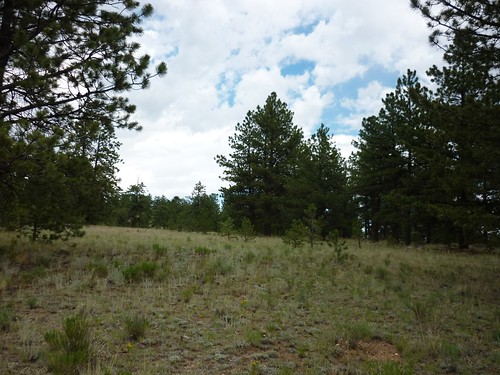
Day 1 will take the Advanced courses into some hilly, rocky areas, but the general description of Badger Gulch would be open running. Don’t be fooled, however, into thinking that means easy orienteering. You will still have to be on your toes.
The courses are a little on the longer side, but I’m pretty sure the winning times will be within the recommended guidelines, if not a little faster on some courses.
Hopefully, you were able to go out on the Model event to see the difference between knolls and boulders. If not, it will take you no time to begin to distinguish between the two.
| Day 1 Course | Length (km) | Climb (m) |
# of |
Classes |
| White | 2.9 | 30 | 9 | · F-10, F-12, F-White · M-10, M-12, M-White · Grp-White |
| Yellow | 4.1 | 30 | 11 | · F-14, F-Yellow · M-14, M-Yellow · Grp-Yellow |
| Orange | 5.5 | 65 | 12 | · F-16, F-Orange · M-16, M-Orange · Grp-Orange |
| Brown X | 5.3 | 80 | 12 | · F18, F55+, F60+, F-Brown · M65+, M70+, M-Brown |
| Brown Y | 4.3 | 55 | 11 | · F65+, F70+, F75+, F80+, F85+, F90+ · M75+, M80+, M85+, M90+ |
| Green X | 7.4 | 160 | 13 | · F-20, F35+,F40+,F45+,F50+, F-Green · M-18, M-Green |
| Green Y | 7.5 | 180 | 15 | · M50+, M55+, M60+ |
| Red | 9.7 | 240 | 15 | · F-21+ · M-20, M35+, M40+, M45+, M-Red |
| Blue | 12.4 | 370 | 17 | · M-21+ |
Day 2 (Sunday, August 10th)
Map: Round Mountain
Course Setter: Joel Swisher
Distance from parking to the start: 750 meters.
Having completed Day 1, you shouldn’t encounter many surprises on the adjacent part of the map we’re using for Day 2. The terrain is fast and runnable, with less climb and shorter distances than Day 1. The extensive trail network requires many controls on advanced courses, so you can expect some short legs, some of which visit complex rock detail.
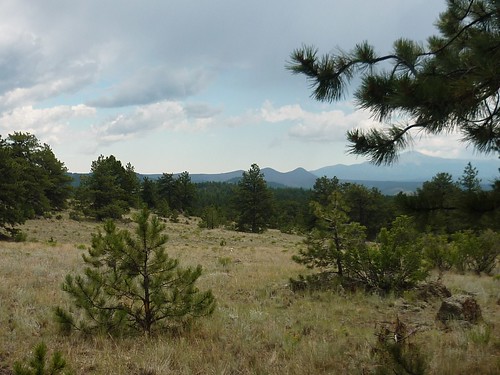
In more open areas, the terrain can be rather vague, so be sure to maintain map contact as you sprint around. I recommend that you focus on the compass, contours and other ground detail, and try not to rely heavily on vegetation details for orientation. They are generally accurate but a little vague, and can be hard to articulate when one’s brain is starved for oxygen.
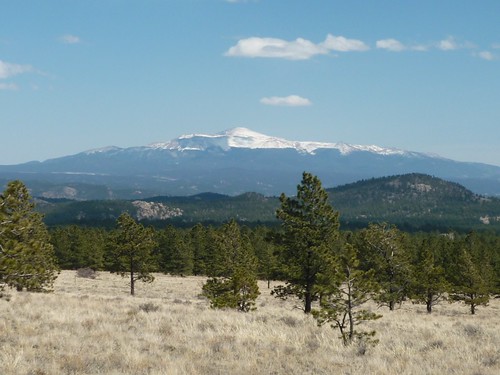
Don’t forget to enjoy the views of Pike’s Peak and the surrounding mountain scenery.
| Day 2 Course | Length (km) | Climb (m) |
# of |
Classes |
| White | 2.4 | 20 | 9 | · F-10, F-12, F-White · M-10, M-12, M-White · Grp-White |
| Yellow | 3.6 | 40 | 9 | · F-14, F-Yellow · M-14, M-Yellow · Grp-Yellow |
| Orange | 5.6 | 60 | 12 | · F-16, F-Orange · M-16, M-Orange · Grp-Orange |
| Brown X | 4.9 | 70 | 11 | · F18, F55+, F60+, F-Brown · M65+, M70+, M-Brown |
| Brown Y | 4.5 | 50 | 10 | · F65+, F70+, F75+, F80+, F85+, F90+ · M75+, M80+, M85+, M90+ |
| Green X | 6.6 | 90 | 14 | · F-20, F35+,F40+,F45+,F50+, F-Green · M-18, M-Green |
| Green Y | 6.7 | 120 | 14 | · M50+, M55+, M60+ |
| Red | 8.4 | 130 | 16 | · F-21+ · M-20, M35+, M40+, M45+, M-Red |
| Blue | 11.5 | 170 | 21 | · M-21+ |
This Page
Last Updated on Friday, 01 August 2014 00:23